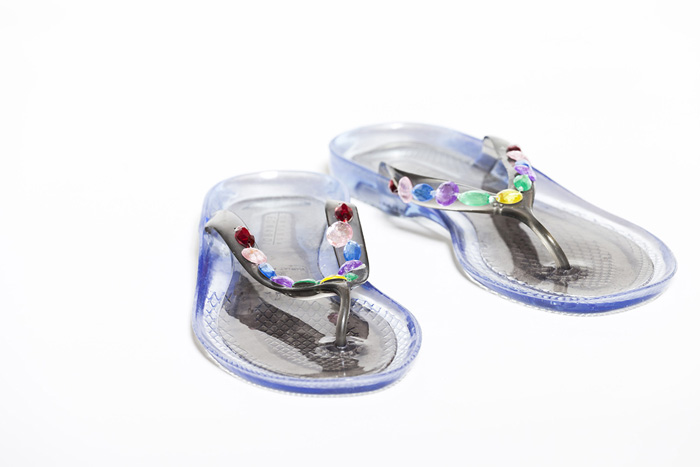
It’s summertime and the living is easy! Or so they say…but what they forget to say is that summer is prettier in blinged-out flip flops. Don’t feel like paying the inflated prices for those sparkly little beauties?
Not a problem, break out your inner artist and get ready to create your own designs.
Whether you are creating them as a gift or for yourself, nothing says summer like rhinestone accented flip flops. With wedding season upon us, many brides like to customize gifts for their bridesmaids or for their bachelorette party and this eye-catching flip flops are ideal!
Whatever the occasion, adding some sparkle and shine is easy and fun to do.
What you need:
Pair of flip flops (Old Navy’s Classic Flip Flops are great for this)
Rhinestones
Glue
Ruler
1. Calculate How Many Rhinestones You’ll Need
This is as simple as taking a few measurements.
You just need a ruler to calculate how many rhinestones you’ll need based on the width of the strap. Figure what sized stones you want to add to the strap and how many rows and then be sure to multiply it by two so you have enough for each flip flop.
It’s as simple as that and taking the few extra moments to do this will save you more frustration later on.
2. Gather the Rest of Your Supplies and Start Gluing
Find a sturdy glue that will stand up to hours in the sand and lounging in the sun by the pool.
One word of warning, strong glue is great when gluing rhinestones to flip flops but can be a bad thing if you glue your fingers or the floor. Be sure you prepare the surface you are working on so that it’s protected. Paper bags or a newspaper work well for this.
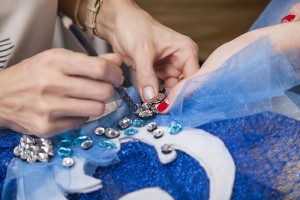
To begin the actual process of gluing, start by applying a small amount of glue to the center of the strap using a toothpick.
Next, begin placing the stones where you would like. Don’t worry if they aren’t totally straight at first. You will have a few minutes to shift them before they completely dry in place.
Your best bet is to work down the strap doing small section by small section. This allows you the time to perfectly place and shift the stones as needed.
3. Continue Gluing and Adding Rhinestones
Once you start the process, it’s pretty easy to continue it. Don’t be concerned when you see the glue appear white. As it completely dries it will turn clear and mishaps won’t be noticeable.
Once you have your rhinestones where you want them, you need to give them plenty of time to dry. If you rush this part of the process, your hard work will be wasted!
Typically 24 hours is enough time to for the glue to dry solidly. Once dry, gift or go out to the beach and enjoy your custom creations!


