We’re officially into the summer months, which means it’s also time to celebrate America. For many of us that means burgers on the grill and fireworks at night. If you’re planning a gathering of friends and family, make sure your decorations are on point. To help you out, we’ve put together a collection of Fourth of July DIY rhinestone projects.
Patriotic Starry Centerpiece
Whether you’re enjoying the warm weather out in the backyard or you’re taking advantage of the joys of air conditioning, your table will benefit from a beautiful centerpiece.
To create a dazzling centerpiece worthy of celebration you’ll need the following items:
- Tin can, label removed
- Red, white, and blue acrylic paint
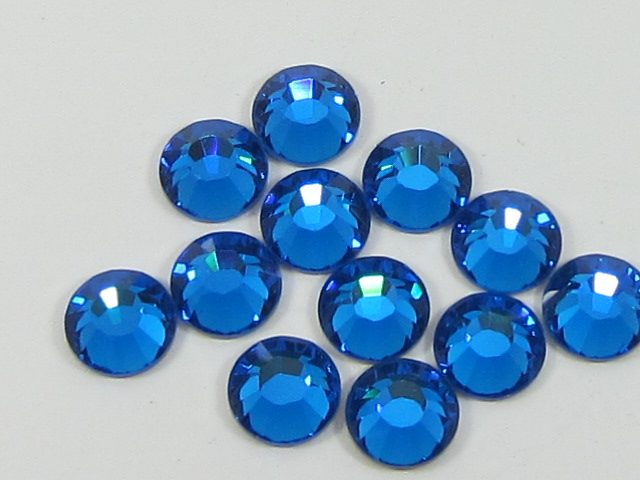
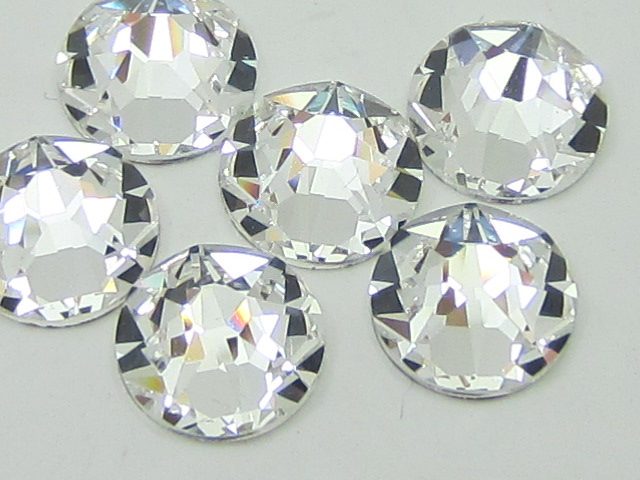
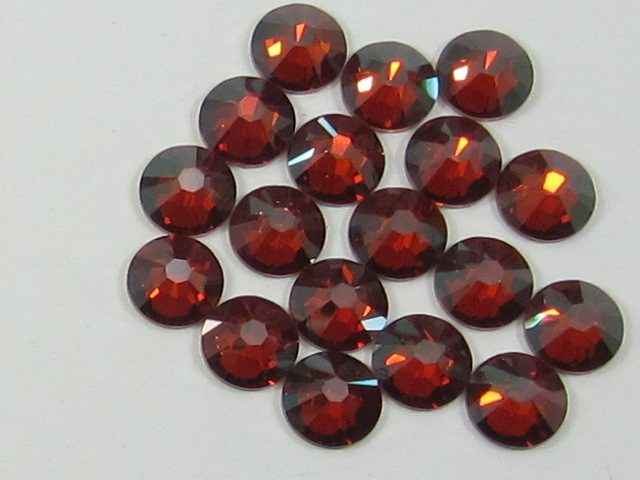
- Red, clear, and blue flat-backed rhinestones
- Floral foam
- 10-20 thin dowels, about 10 inches in length
- Stiff felt in red, white, and blue
- Glue
The idea is to create a “bouquet” of stars in an upcycled vase. To start, you’ll need to paint your can “vase” and dowels. The can will look great will stripes or a flag motif. Be creative! If you prefer solid colors, that’s great too!
The dowels will need to dry before you create your star “flowers”. While the dowels are drying, start cutting out stars in various felt colors. You’ll want to cut duplicates of each star because they will be glued back-to-back at the top of the dowels.
Glue the felt stars to the top of each dowel. How many you make is up to you and the size of your vase. Start with 10 and create more as needed. Each star topper will then get the rhinestone treatment. Using your favorite shapes and colors, glue rhinestones to your stars.
Grab your floral foam and form it or cut it to fit your vase. Arrange your star flowers by pushing them into the floral foam and your patriotic centerpiece is complete!
Clothespin Wreath
Wreaths are wonderful for creating an inviting home that’s in tune with the holiday. This is an easy project to get the kids involved in, and it take as much or as few rhinestones as you want (though we think more sparkle is always better!).
For this quick project you’ll need the following:
- About 100 clothespins
- Wire wreath frame
- Red, white, and blue acrylic paint
- Flat-backed rhinestones
One side of each clothespin will need to be painted. The ultimate look is that the clothespins will be clipped around the wreath frame in a flag pattern. Roughly one-quarter of your clothespins will be blue. Of the other clothespins, half will be red and half will be white.
Rhinestones can take the place of stars on your blue clothespins, and if you want you can cover your red and white pins with more rhinestones.
Clip each clothespin to the frame. Blue clothespins will occupy the top left quarter of the frame. Alternate red and white clothespins around the rest of the wreath frame. The result is a reusable wreath that brings patriotic cheer all summer.
Luminaries
With glass jars, tissue paper, and rhinestones, you can create fun and cute luminaries for your picnic table while you wait for the fireworks to start. You’ll need the following materials:
- 4-oz glass jars
- Red, white, and blue tissue paper
- Rhinestones
- Mod-Podge
- Rhinestone glue
- Tea candles
These luminaries are easy to make, and the kids can get involved in the process too! To start, cut your tissue paper into 1-inch squares, You’ll need only a few squares per jar.
Get a paintbrush and a small dish filled with Mod-Podge. Paint a small amount on the tissue paper square to adhere it to the inside of the jar. Use more Mod-Podge to completely cover the back of the tissue paper—don’t worry, it will dry clear.
Create a pattern with your paper, but make sure to leave open spaces and don’t overlap too much—the more overlap, the darker the luminary.
Once your paper is in place, glue rhinestones to the outside of the jar. You’ll want to create a pattern that leaves plenty of room for the light to shine through. When the luminaries are lit, the light will bounce off of the rhinestones and create a dazzling effect.
When everything is set, place your tea candles in the jars and watch the light flicker and dance in the nighttime.
Magic Wands
A favorite way to spend the Fourth is enjoying a parade or fireworks. We’ve got an idea for a sparkling wand you can wave around that catches the light and spreads some cheer.
This is very similar to the centerpiece idea, but instead you’ll be making a star-topped wand complete with ribbons and rhinestones. You’ll need:
- Dowels cut into 12-inch lengths
- Stiff felt in red, white, or blue
- Rhinestones in coordinating colors
- Red-white, and blue ribbons in various textures
- Acrylic paint (optional)
- Glue
If you like, you can start by painting the dowels with acrylic paint in red, white, or blue. If you’re making multiple wands, use multiple colors! The next step is to cut the felt into pairs of matching stars. Star templates are available online—print one
on paper, cut it out, and use it as a template. The felt stars will be glued back-to-back, so make sure they’re the same size.
Before gluing your stars to the dowel, cut your ribbons into 20-inch lengths and fold in half. Glue the mid point of the ribbon to the top of the dowel. Add one red, one white, and one blue ribbon to the dowel.
The felt stars are going to need some sparkle! Glue rhinestones to one side of each star, and glue pairs of stars back-to-back at the ribbon end of the wand. When everything has set, you’re ready to wave your wand a celebrate Independence Day!
We hope you have a blast with these DIY projects! Make sure you check out our constantly expanding inventory and grab your red, white, and blue rhinestones in your favorite shapes. Have a safe, happy, and sparkling holiday!


