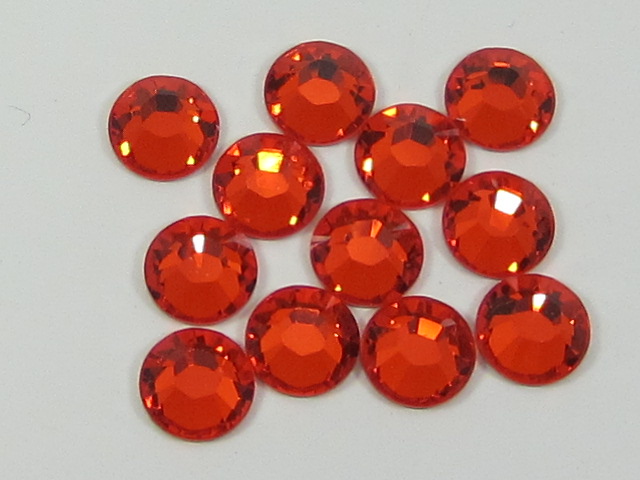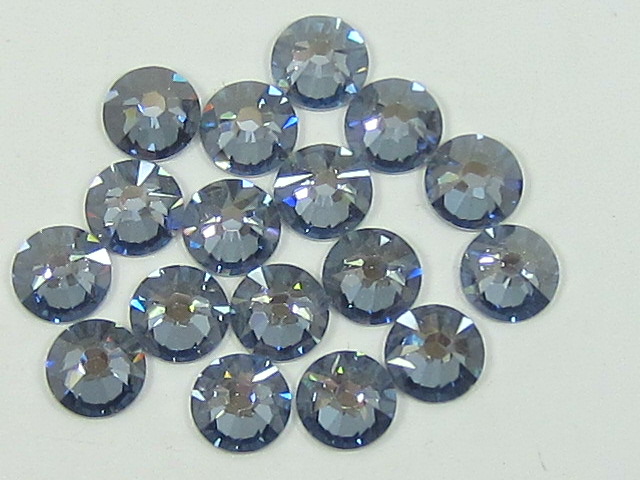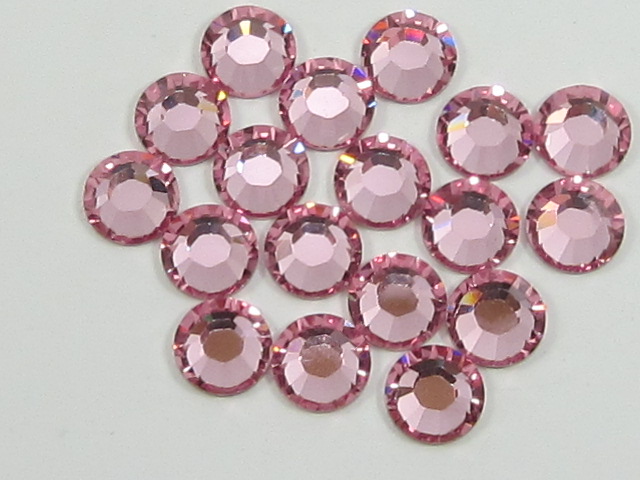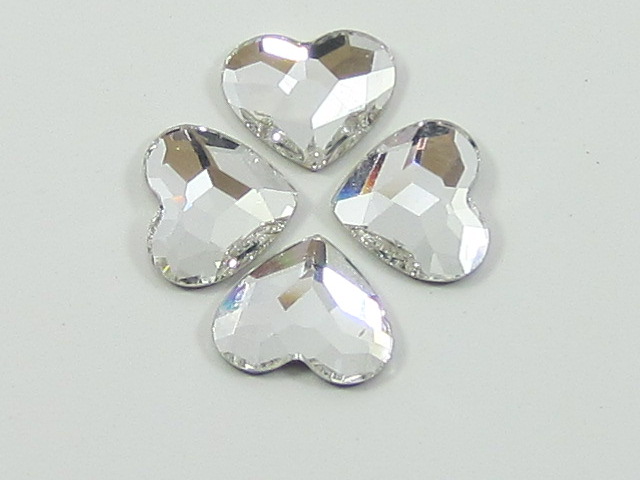
Valentine’s Day feels like it’s just around the corner! It’s also the perfect opportunity to pull out your craft supplies and rhinestones and make some fun crafts. Check out these great craft projects to celebrate Cupid’s favorite day!
Heart String Wall Art
Wood, nails, string, and rhinestones help you create this fun DIY Valentine’s project. To get started, you’ll need:
- Wood plank cut to your desired size – stain or paint if you wish
- Linoleum nails – one package should be enough
- Scissors
- Hammer
- Heart template
- Tape
- Embroidery floss – any color
- Rhinestones
If you want to paint or stain your wood plank, do that before doing anything else because that’s the base of your project.
Before you can start hammering, you’ll want to find a heart template online and print it out. Carefully cut out your template and tape it to your wood plank.
Carefully hammer in your nails around the heart pattern. Don’t hammer them in all the way because you’ll eventually need to wrap string around the nails. Place nails evenly and fairly close together.
Now come the strings and things! Tie your embroidery floss around one nail, and wrap around each nail to create an outline of your heart. Make sure you use all six strands for a stronger connection—it’s less likely to break.
Use more embroidery floss to start crisscrossing across nails to “fill in” your heart. Make sure you wrap tightly! Once you’re done, tie off the end and snip away the excess. Use flat-backed rhinestones to adorn each individual nail head.
Wood Heart Garland
If you’re the type of person who loves to decorate the whole house for holidays, this heart garland is a wonderful project that you can use each year. The more complicated (and durable) project uses wooden hearts, but you could adapt this using felt.
To get started, gather:
- Round rhinestones, assorted sizes
- Flat wooden hearts
- Drill with a small drill bit
- String or twine
- Scissors
- Acrylic paint
Paint your wooden hearts with acrylic paint. You’re not restricted to “Valentine’s” colors—use what makes you happy! Use your drill to carefully drill a small hole on each side of the hearts—place the hole higher on the heart, close to the top. The hole should be big enough to fit the string.
Use rhinestones to cover each heart or create patterns on each heart. This is where you can get really creative!
Weave your string through each heart, and tie knots behind each hole to avoid slippage. Hang your heart garland over your windows to celebrate the holiday in style!
Valentine’s Cards with Bling
The industry surrounding Valentine’s Day is massive, and people spend millions each year on flowers, chocolates, and cards. Make things a little more personal by making a card instead of buying one!
Thanks to the scrapbooking hobby, craft stores have huge selections of cardstock and decorative papers to choose from. Choose your favorite papers and get to work!
You’re really only limited by your imagination, but you’ll get a more dynamic card by combining patterns and solid colors and layering them on your card. Double-stick tape is a great method for layering paper.
Use die punches, corner punches, and premade elements to add interest, but when you’re satisfied with your card, add rhinestones to make it extra sparkly and add dimension to the card.
Bouquet Vases
Vases are incredibly easy to create—and incredibly fun! You can use them to hold that special bouquet from Valentine’s Day, or you can make your own arrangements to give to your loved ones.
One of the best parts about this project is that you can use found glassware or glass canning jars. Using something unique gives your vase its special character, and of course, rhinestones always make everything better.
To make a Valentine vase, you’ll need the following:
- Glass canning jars, or any found jar (taller is better for flowers)
- Acrylic paint in your choice of color
- Flat-backed rhinestones in colors that coordinate with your paint color
- Ribbon (optional)
You’ll paint the outside of your glass jar with either patterns or hearts. You can get creative and paint so that the negative spaces (unpainted areas) show your pattern instead. This is a fairly rustic project, so if it’s not perfect, that’s okay.
Then you can plan your rhinestone placement. The Rhinestone Shop even sells heart-shaped rhinestones, which would be perfect in this application. You could even create a polka dot pattern with your rhinestones.
For a finishing touch, add a ribbon to the neck of the vase. For even more flair, apply small flat-backed rhinestones to your ribbon.
Sparkle and Lace Votive Holders
These pretty little votive candle holders are simple enough to get the kids involved and sophisticated enough to provide an elegant touch to any table.
The supply list is fairly short:
- Glass votive holders with smooth sides
- Lace that is the approximate width of the votive holder
- Flat-backed rhinestones
- Hot glue
- Votive candles
- Flexible tape measure
- Scissors
The first step is to measure the circumference of the candle holder. Use your tape measure to measure around and write down the length. Use that measurement to measure your lace, and add an extra 1/8” for a small amount of overlap.
Wrap the lace around the votive holder and use a small amount of hot glue at the edges of the lace to attach it to the votive holder. If you’re working with kids, this part is for adults to work on.
The next step is to add your rhinestones. Add small rhinestones to the lace and votive holder, but make sure you don’t cover the lace completely.
Finally, add your candle and enjoy watching the light flicker and bounce off of the rhinestones. Place them on your table for a candlelight Valentine’s dinner.
Be sure to take a look at the Rhinestone Shop’s amazing selection of rhinestones for all of your DIY projects. We have dozens of colors, shapes, and sizes that will allow you to create anything you put your mind to!


